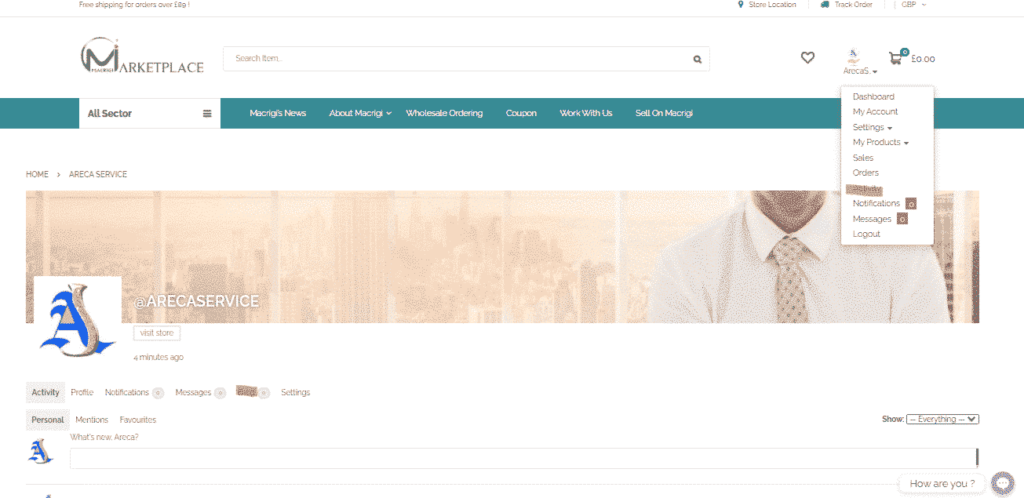
Guide for Vendors

Our Simple Guide to Creating your Space

1-Access to the personal account menu

As soon as you have gained access to your account, you can easily manage the store and profile details by clicking on the drop-down menu at the top right that appears next to your username (image 1 below).

1-Image

2-Profile Management on the “Settings” menu

General / Change password

By clicking on Settings => Profile, you will have access to the General section of the profile, here you need to enter the Logo (optimal 450 x 450 Pixels in PNG format) and Company Banner 1.140 x 300 Pixels. It is mandatory to change the password at the first access (2).

2-Image

3-Mail

In the Mail section you can decide whether or not to receive notifications for each new message. We recommend that you leave email notifications enabled for any update or response to requests for assistance (3).

3-Image

4- Change Username

In the Change Username section you can enter a new username, in case you like to change it.

To do this you will need to  enter your current username in the first field and your preferred username in the second field. Click on “Save Changes” and you can update your username as you wish (4).

4- Image

5-Delete you Account

If you want to close your account and delete the contents created, go to the Delete Account section, click on the tick and then on the confirmation button (5).

5- Image

6-General Store Settings

By clicking on the top right menu (1) on Settings => Shop, you will access the Settings section of the dashboard (6).

In this section you can change, through the subsections, the name of the shop, the description and the company logo, the settings for payments, shipments and reviews.

6- Image

7-8 Shop

In the Shop subsection you can change the shop name and description and give an overview of your company (7-8).

We recommend that you enter the various descriptions directly in English, as they will be the main page of your shop for all languages.

In this section you can also enable the “holiday mode” to temporarily stop any order or activity on the portal and enjoy your holidays. To activate it, click on the check mark at the foot of the page (8). Remember to deactivate it once activity on Macrigi is resumed.

7-8-Image

9-Payments

In the Payments subsection you can enter your bank details to receive payments from Macrigi (9).

Once you have entered the details, click on “Save Changes” to register them.

9.Image

10-Branding

In the Branding subsection you can set the banner and the company logo to display them on your shop and on the company page (10)

Important: Please respect the resolutions listed below to get a correct display of the elements.

Banner: rectangular, 1140 × 300 pixels

Logo: square and without background (PNG format), not less than 400 x 400 pixels. (Optimal: 450 × 450 pixels) no higher than 450 × 450 pixels

To resize images, we recommend using the following site:

https://tinyjpg.com/

After uploading your logo and banner, click on “Save Changes” to update the shop.

10. Image

11-Shipment

In the Shipping subsection, you can set the various shipping costs depending on the country or region, with the related additional costs (11). You can also set up free shipping if the order exceeds a certain amount of your choice.

Here you can also introduce your shop’s shipping or return policy. If not specified, current European law will be applied as indicated in the Terms and Conditions that the customer would have accepted when they placed the order.

We recommend that you read the following table of reference costs for shipments from our logistics partner Packlink, not yet discounted. Packlink will contact you directly to let you access and join the discounted tables dedicated to Macrigi producers. Click Here to download the file.

11.Image

12-Ratings

On the Dashboard, next to the Settings menu we just talked about, you will find the Ratings menu (12).

Here you will be able to see all the reviews of purchases on your shop.

12-Image

13-Products

The products menu

By clicking on the menu at the top right under My Products, you can add a new product “Add Product”, or view your products already entered “View Products” (13).

1.Image

14- Add a Product

By clicking on My Products => Add Product you will go to the add product page, where you can set details such as the name, description, type, category and images of the product (14). Scrolling down, you can see 6 further subsections, which we will discuss later: General, Inventory, Shipping and Attributes (15).

14. Image

The main page

On the main Dashboard => Products page, you can add the main information of your product (14-15).

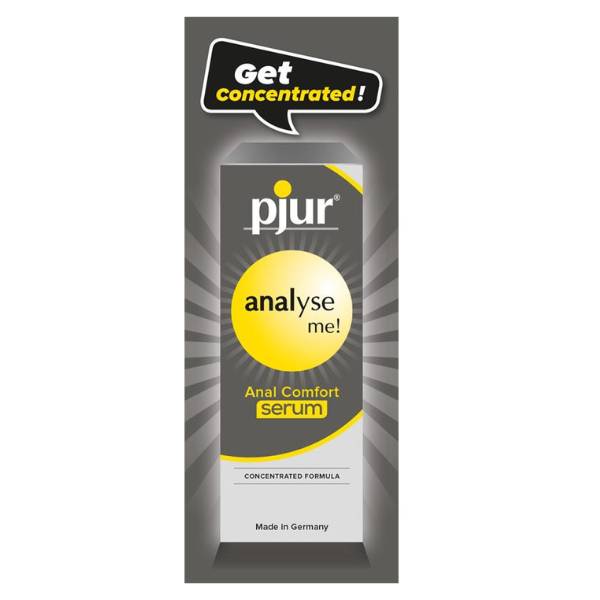
–Product name (eg “Striped shirt”)

-Product description. This is the complete description of the product, which includes all the details and technical aspects, including the shipping method. A complete and thorough description will attract more customers and help our agents to sell your product better to wholesalers. It is also advisable to list the information by going to the head often, for example:

Red

Material: silk

Weight: 0.200 kg

-Short description. This is the description next to the product. It is advisable to list a summary of the characteristics of the product to capture the customer’s interest.

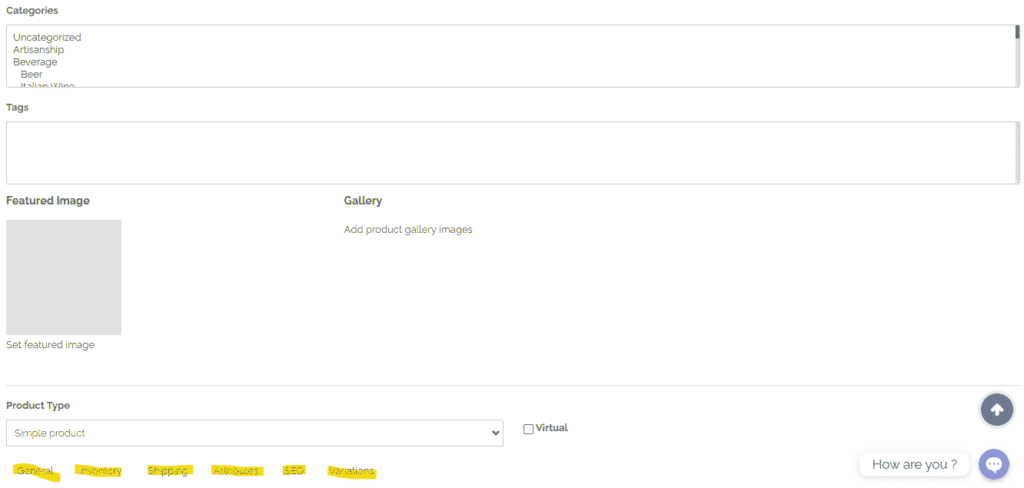
– Category (eg “Men’s Clothing”, you can choose a maximum of 2)

–Tag (eg “Artisan” or “Tailoring” or “Organic” ..). The tag is a “label” that is given to your product to favor indexing in site searches.

-Image. This is the showcase image of your product.

-Tunnel. The images that the customer will see once they click on the product page. We remind you that the product images must be square (e.g. 600 × 600 pixels). We also recommend uploading photos in a lightweight format such as PNG or JPEG. and Resized from the website below: https://tinyjpg.com/

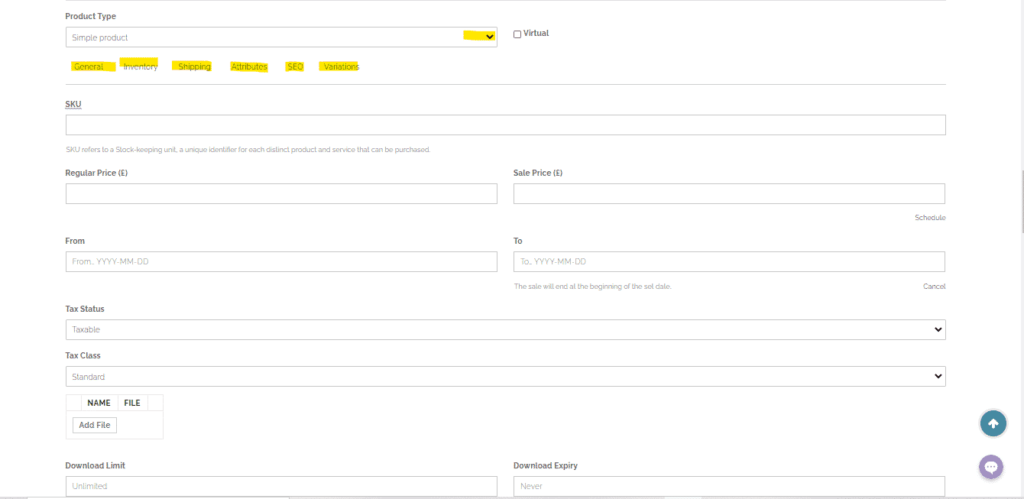
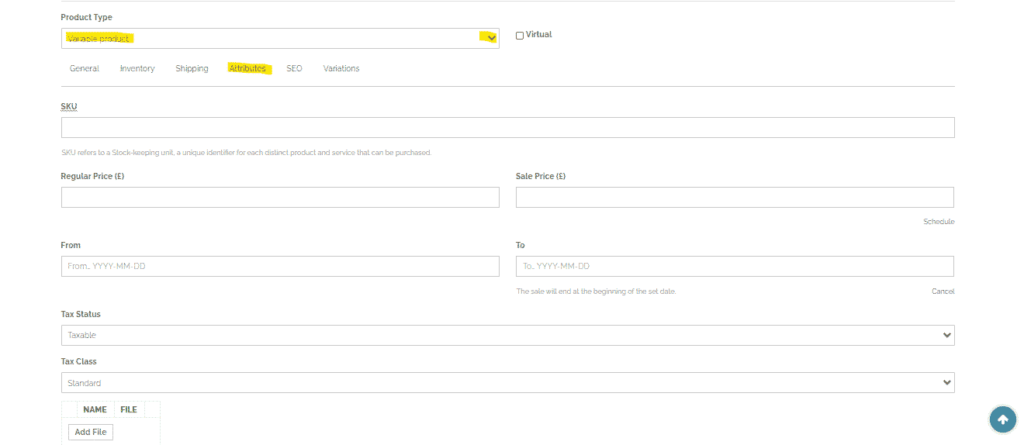
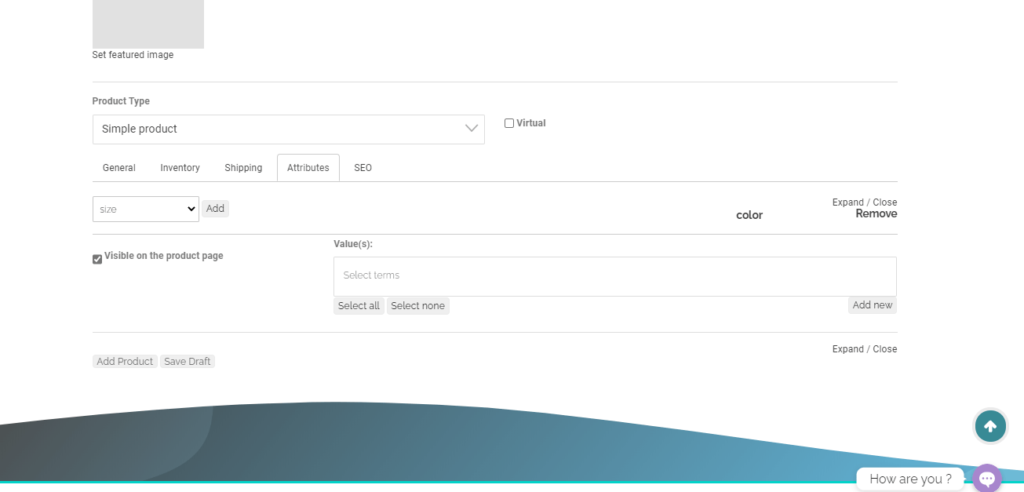
–Product type (eg “Simple Product”)

– Virtual Product. This selection is recommended for those who sell a product or service that needs a quote and therefore cannot have a price already set.

– Downloadable Product (e.g. software, ebook, etc ..)

General

At the bottom, in the General subsection, you can enter the SKU code (a code of your choice that identifies your product within the platform) and the retail price of the product and the discounted one (16).

If you wish to enter the wholesale prices of your products, contact our Support Team and communicate 3 price ranges (e.g. from 1-5 pcs = 13 GPB, 5-10 pcs = 11.50 GPB, 10+ pcs = 9.50 GPB ). It will be the task of one of our technicians to enter the wholesale prices on the platform.

17-Inventory

In the inventory subsection you will have access to the inventory management of the product (17). If the “Manage Stock” checkbox is not selected, you will only be able to set whether the product is in stock or not. 

On the other hand, if the “Manage Stock” checkbox is activated, you can also set the number of units ready for delivery for sale and decide whether or not to allow “orders beyond stocks”, meaning orders placed when the product is not available. Macrigi recommends not changing this option that is normally disabled. Finally you can also decide whether the product should be sold individually (ideal for virtual services or products) by limiting the maximum order quantity in the cart to a single unit.

17-Image

18-Shipment

In the Shipping subsection you can manage the specific taxes for shipments based on the country and region of destination (18).

You can also set a minimum purchase quantity to access free shipping.

On the same screen you can also specify the weight and dimensions of the product.

18. Image

19- Attributes

In the Attributes subsection you can set different attributes to the same product, for example color, size, material variations (19).

After selecting and adding a specific general attribute (color, size, etc ..), click on “Expand” and on the item “Value-i”, enter the specific values separated by (,) (for example: Red, Yellow, Green..).

Make sure you have checked the box “Visible on Product Page”, to make sure that the different values are visible to the customer on the product page (20).

The attributes are limited and may not cover all possible eventualities. If you want to add a new type of attribute to give to your product, do not hesitate to contact our customer service via chat or email.

19-20. Image

21 Adding a Variable Product

What is a Variable Product

A variable product is a product that contains within itself several declinations. An example of a variable product is a garment offered in various colors, sizes and materials, or a service offered in different packages, or even the different models of the same product.

Set the Product Type

To add a Variable Product, go to the main product addition page Dashboard => Products (14) enter the various product details and choose “Variable Product” on “Product Type” (21).

Set the Attributes

Set the attributes as explained in the paragraph above “Attributes”, making sure you have clicked on the checkbox “Visible on the Product Page” and “Used for variations”.

Once you have added the desired attributes, click “Expand” on the added attribute and enter the correct Values separated by “| “(20).

Variations

When “Variable Product” is chosen as the product type, the “Variations” item appears in the subsection of the product page, just below the “Attributes” item.

Once the desired attributes and values have been entered, product variations can be created by clicking on the appropriate subsection “Variations” (22)

21-Image

23-Addition of Variations

In the “Variations” subsection, choose “Create Variations from Attributes” from the first drop-down menu and click on “Go”. (23)

A notification will appear on the screen warning that the maximum number of variations that can be created is 50. Click “OK” and wait for the system to add the variations.

At this point you will see a list of variations in this order: # 0, # 1, # 2, etc .. The title of the elements of this list is the name of the different values given previously (24). You can change these values to your liking, however we recommend never choosing the value “Any” as it represents a null value.

If the desired values are already listed automatically, you won’t need to change them.

23-24. Image

25-Entering details of the Variations

Under each item in the list there is an arrow that, if clicked, will take you to the customization panel, where you can add image, price, description, measurements, etc. to the variation (25).

We always recommend inserting as many details and a different photo for each variation.

Once the variations have been saved and the product added, the customer will be able to choose between multiple options / models of the same product on the same page.

25.Image

26-Set the main/default variation

Above the list of variations, you will find a drop-down menu: “Default Form Value” (26).

This menu determines what the main variation of the product is, i.e. the first product type the customer will see when viewing your product page. Choose the variation you prefer from the drop-down menu. The customer will then be able to choose the other variations directly from the product page.

26. Image

27- Product Management

In the top menu, by clicking on My Products => View Products, you will be directed to the page with the list of products currently added (27).

With just one click you can modify them, delete them, duplicate them or simply view them.

Order management

Order summary

Pressing the “Sales” item from the top menu you can view the list of orders received (28).

For each order, you can view the details, add an order note, mark it as shipped or enter a tracking number for the customer.

27-28. Image

29- Execution of the order and timing of payments

Macrigi Ltd will issue the bank transfer once you have entered the Tracking Number on the platform and sent the invoice relating to the order (whatever the amount of the order) in the appropriate section and we will have received confirmation by email via photo.

We recommend that you book the courier to collect the goods on the same day as receiving the transfer to your account.

You will receive the bank transfer sent by Macrigi within 30 “(Seconds) after receiving all the required documentation and therefore it will be made when the payment is issued.

Other payment methods

If you have other payment methods for collection (e.g. virtual POS, Paypal ..), the credit will be immediate with the same times.

Using our Transferwise multi account circuit (GPB, US, EURO) the exchange and transaction costs are equal to zero-

Other traditional methods will be charged fees required by the banking circuits

Tracking Number

In the shipping receipt below (29) you can see the location of the Tracking Number of the shipment with our logistics partner Packlink.

In the Macrigi platform, the Tracking Number must be entered without spaces.

29. Image

30-Notifications
From the drop-down menu at the top click on the item “Notifications” (30) and you will see the page with a list of notifications on your account.

30. Image

31-Messages
Click the “Messages” item from the drop-down menu at the top and you will see the page dedicated to messages on the platform (31). This section will be useful when you want to get in touch with our support team.
The page is divided into 4 subsections: Inbox, Favorite, Sent and Write

31.Image

Incoming mail

In this section you can read, delete or add to your favourites (by clicking on the star next to the message).

Favourites

By accessing the subsection, you will have access to the list of messages previously marked with a star. This section is useful for saving useful or important messages.

Sent

By clicking on the subsection you will access the list of previously sent messages. Here you can read or delete such messages.

Write

This subsection contains the page for composing messages for the Macrigi Support Team.

Enter the subject, your request and send the email by clicking on “Send Message”.

Our team will respond within the next 24 hours.

33- Blog

Access the “Blog” page from the top menu and click on “Activity”.

Once you have entered the page, to the left of the “Dashboard” menu item, click on the “Blog” section (33), where you can see the two subsections “Posts” and “New Post”, respectively dedicated to the articles already written and to the composition. of a new article.

33. Image

34-Inserting a new article

To write a new a new article, click on “New Post”. On this page you will need to enter a title and write the article (34). The article can be a presentation of your company, an advertisement for a particular product, a text aimed at attracting views.

35-Pictures, videos

You can add a featured image, video and image gallery to the article.

Note: the images can be inserted individually or in a row (one next to the other) using the “Create Gallery” item on the image upload page (35).

However, it will not be possible to insert links that lead to other sites or platforms for security reasons and for our Marketing policy.

35.Image

You can download the Guide PDF from Here.

We want to remind you that your online publication of Shop, Profile, Blog and Start of business
(Your company space, your products and your blog) will be published online only after the payment of the Membership Package

(As per the terms and conditions for the Seller)
and only after Macrigi’s approval of the contents.

For any questions or clarifications, our Support Team will be at your disposal. Our goal is to respond to your inquiries within the next 24 hours.

This Month

Anal Relaxe Out Stock Quick View

Anal Relaxer...

£24.00

UpMan Ring...

£42.00
Select options

Gloss Electrifying...

£14.76

Lubricant –...

£22.20

Convertible dress

£40.54
Select options

Geisha Pleasure...

£37.56